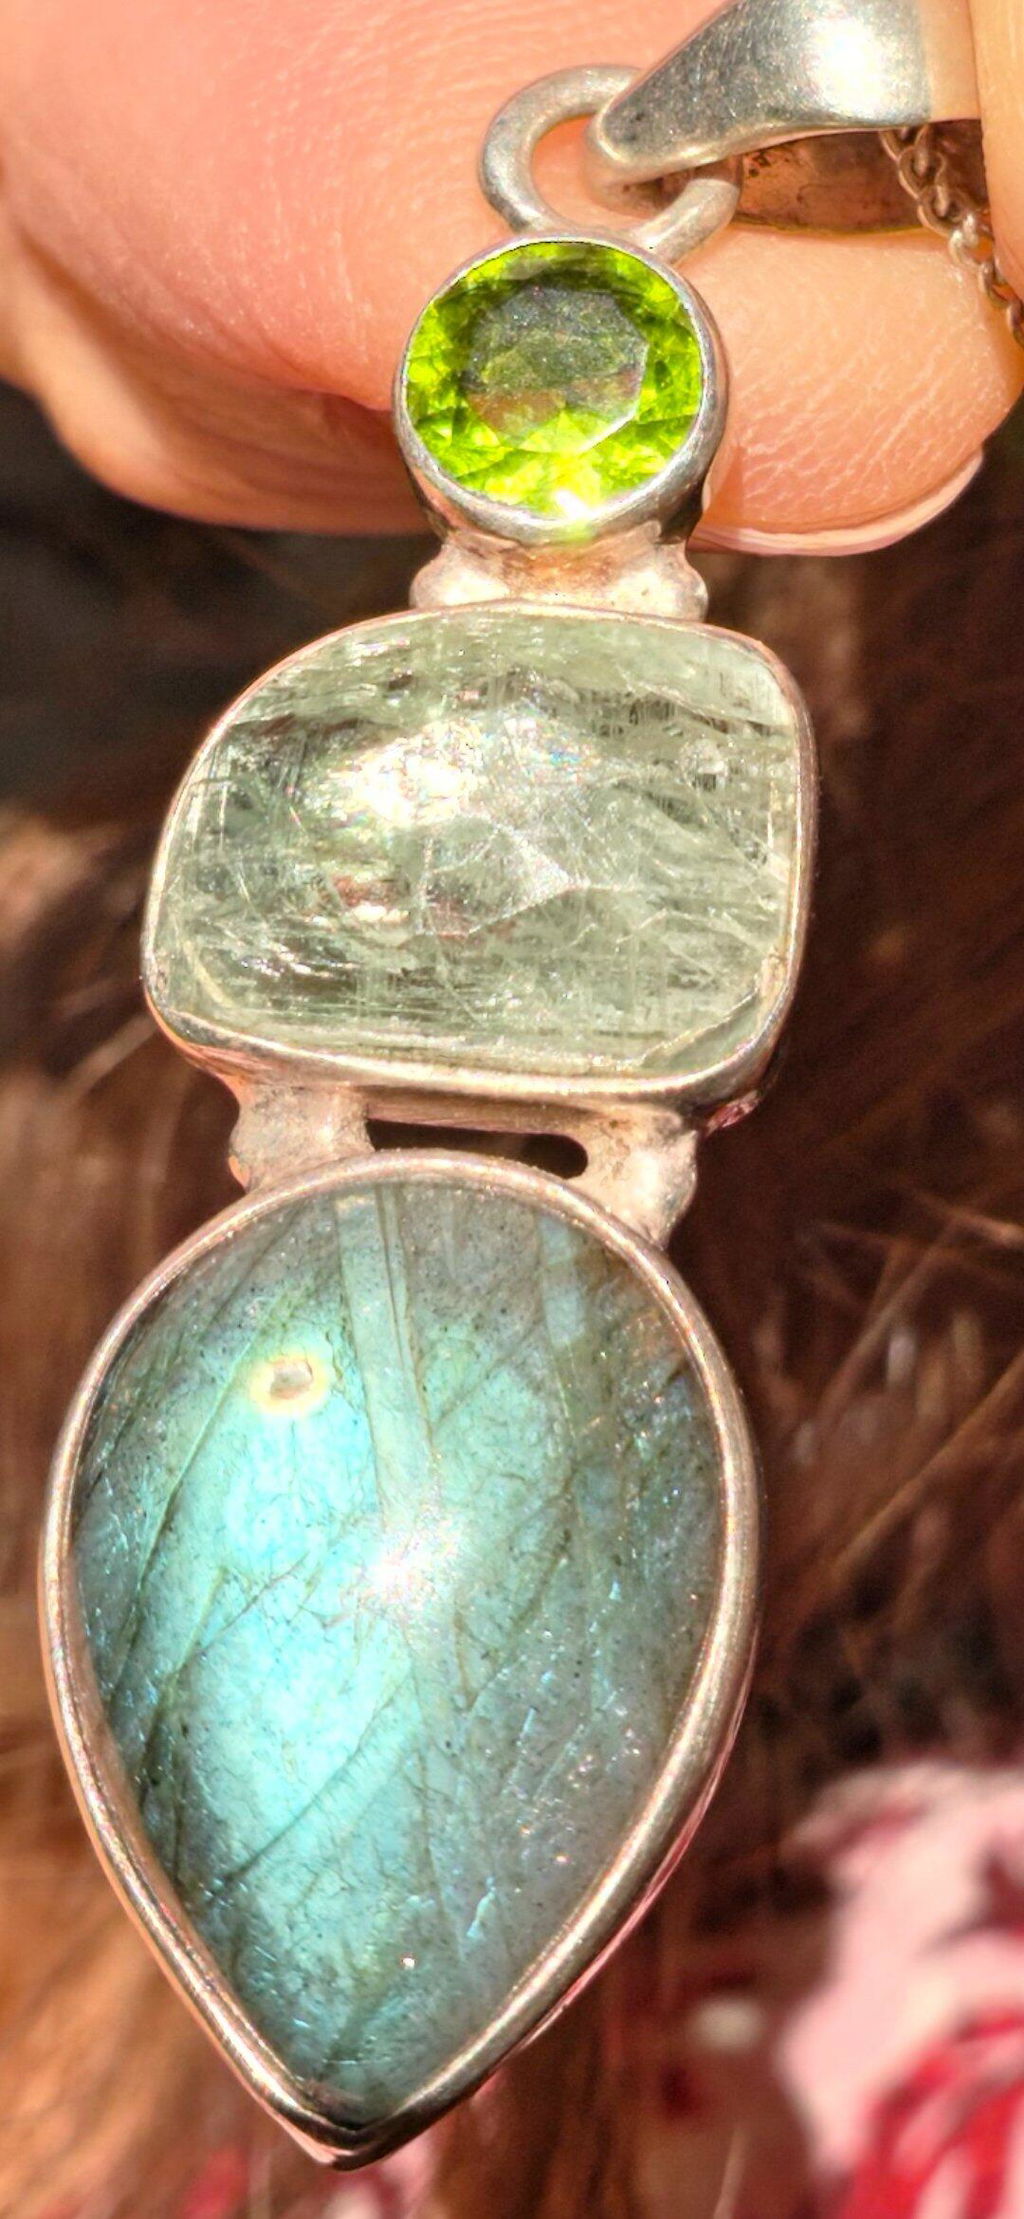
Photographing Handmade Jewelry at Home: A Practical Guide
Photographing handmade jewelry at home produces professional results when you control three variables: diffused light, camera stability, and background choice. Jewelry photography, technically known as jewelry photography, requires attention to metallic reflections, macro focus, and color consistency. A silver pendant with lapis lazuli or a hand-carved turquoise ring contain details that a mediocre photo destroys and a well-executed photo enhances. By following the techniques in this guide, even without a professional studio, you will obtain images that communicate the real value of each piece.
What equipment do you need to photograph jewelry at home?
The camera is not the decisive factor. Stability and depth of field matter more than the brand or model. A recent smartphone with macro or portrait mode produces excellent results when combined with a tripod and a good light source.
Here are the essential tools for an effective home setup:
- Camera or smartphone: DSLR, mirrorless, or smartphone with macro mode. The ideal focal length for dedicated lenses is 60–100 mm.
- Tripod: essential for avoiding blur in macro photos. Even models costing €20–€30 work well.
- Lightbox or light tent: A basic LED lightbox costs between $30 and $100 and ensures uniform light without harsh reflections.
- Remote control or timer: eliminates vibrations at the moment of shooting.
- Cotton gloves: protect the jewelry from fingerprints, invisible to the naked eye but evident in macro photos.
| Equipment | Estimated cost | Main advantage |
|---|---|---|
| 50×50 cm LED lightbox | €30–€100 | Uniform light, controlled reflections |
| Basic tripod | €20–€40 | Total stability, no blur |
| DIY diffuser (tracing paper) | €0–€5 | Economical alternative to lightbox |
| 60–100 mm macro lens | €150–€400 | Sharp details, minimal distortion |
| Smartphone with macro mode | already available | Accessible, good results with correct lighting |
If you want to build a DIY lightbox, use a box at least 50×50×50 cm with walls lined with tracing paper or translucent fabric and place 2–3 lamps outside. The cost is almost zero, and the results often exceed those of people who shoot without diffusers.
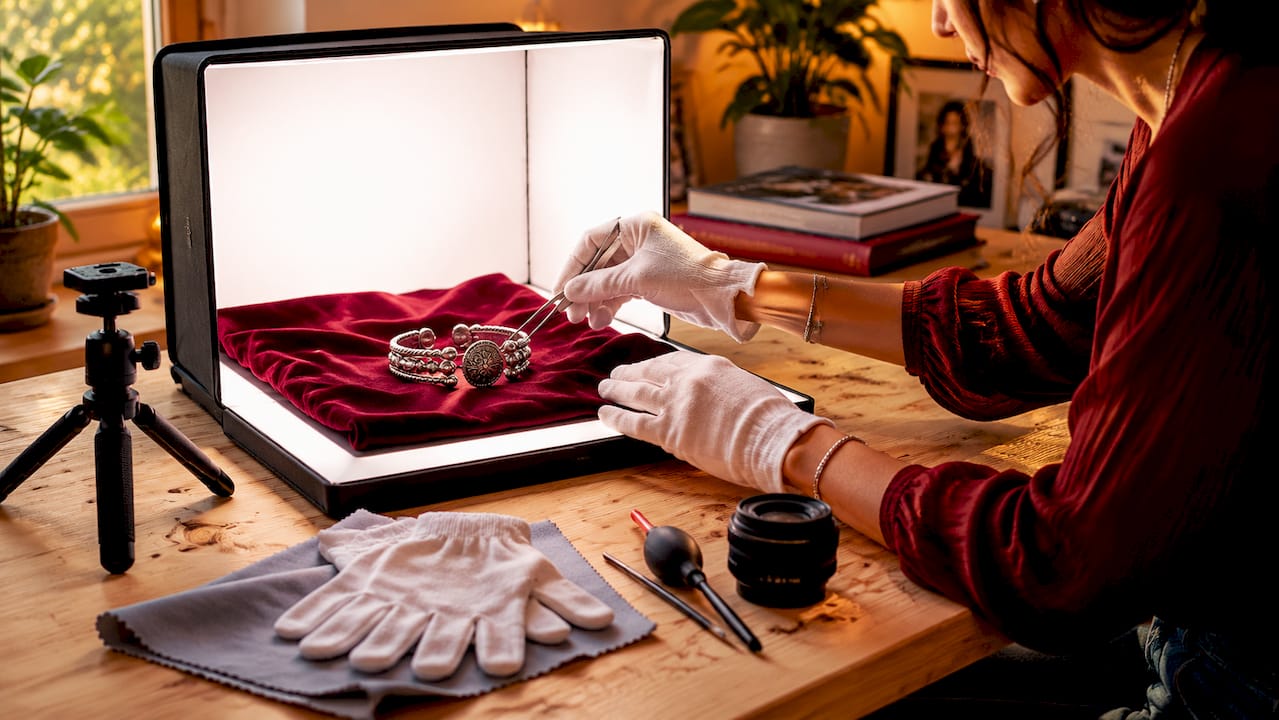
Pro tip: Before each session, wear cotton gloves and clean the jewelry with a soft cloth. Even ten minutes of exposure to air accumulates dust that becomes visible in macro photos.
How to manage lighting to enhance handmade jewelry
The difference between amateur and professional photos almost always lies in the quality of the light, not the camera. A silver jewel with polished surfaces reflects everything around it. Without control, the result is a series of white spots that erase engraved details or stone nuances.
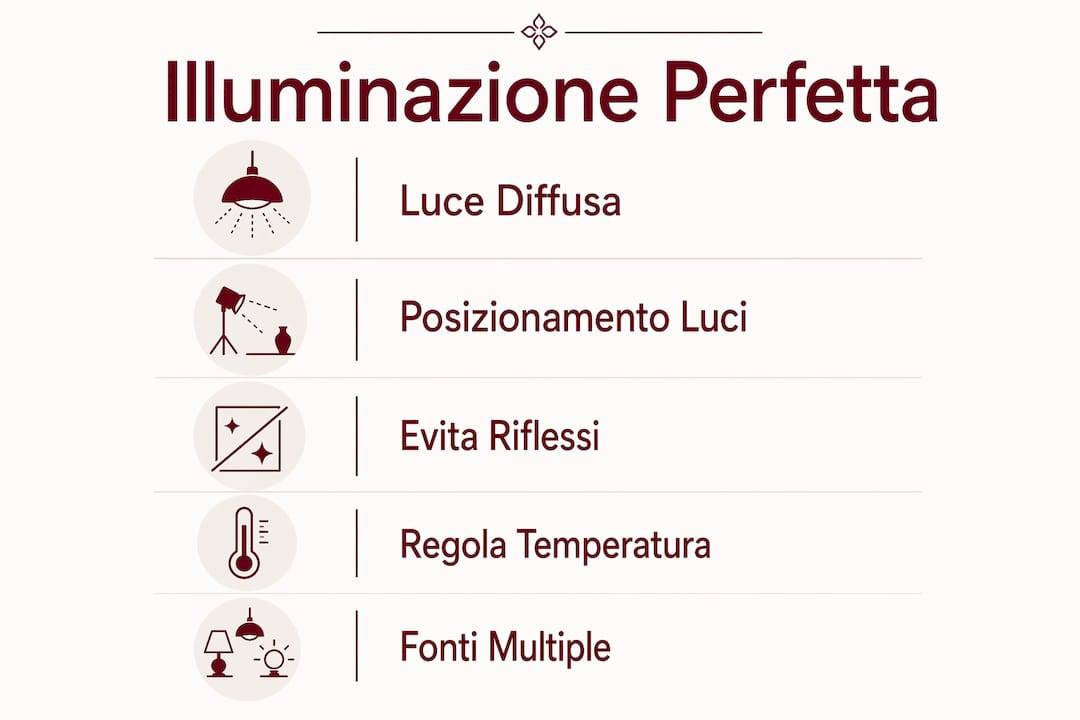
Diffused light is the solution. According to Nestore Baresi, a photographer specializing in reflective objects, continuous light diffusion minimizes harsh specular reflections and creates a soft gradient that follows the metal's forms. This means that light should never hit the jewelry directly.
How to set up lighting effectively:
- Natural light: place the set near a window with indirect light. Avoid direct sunlight, which creates harsh shadows and uncontrollable reflections.
- Consistent artificial light: use LED lamps with a uniform color temperature (5,000–5,500 K for neutral light). Mixing warm and cool light produces color casts that are difficult to correct in post-production.
- Reflector panels: a sheet of white cardboard placed on the opposite side of the light source fills shadows without adding a second light.
- Black opaque panels: use them to block unwanted reflections on the most polished metallic surfaces.
- Blackout curtains: in home environments, controlling ambient light with blackout curtains avoids problems with mixed color temperatures.
The difference between catalog photos and social media photos is substantial. For a marketplace like Etsy or Amazon Handmade, the light must be uniform and neutral. For Instagram or Pinterest, a warm and directional light creates atmosphere and tells the story of the piece.
Pro tip: To make stones sparkle without creating metallic hot spots, place a small spot light source (even an LED flashlight) at a 45-degree angle to the stone, keeping the lightbox active as the base light. You will get the sparkle without losing the detail of the surrounding metal.
What camera settings to use for macro jewelry photography?
The correct settings for macro jewelry photography follow precise rules. An aperture of f/8–f/16, ISO 100–200, and a mandatory tripod are the basic starting points. These choices ensure sufficient depth of field and no digital noise.
Follow this sequence for each session:
- Mount the camera on the tripod before any other operation. Even breathing can cause blur in macro.
- Set ISO to 100 or 200. Higher values introduce noise that is clearly visible on polished metals.
- Choose an aperture of f/8–f/11 as a starting point. Only go down to f/16 if the jewelry is thick or has high depth.
- Use the timer or remote control to shoot without touching the camera.
- Activate macro mode on your smartphone or mount the macro lens on your DSLR. The 60–100 mm focal length is ideal for filling the frame without distortion.
- Check the focus point on the most important detail: the bezel of a stone, an engraving, the artisan's mark.
For jewelry with high depth, such as a bracelet with multiple rows of stones or a three-dimensional pendant, consider focus stacking. This technique combines multiple shots with different focus points to achieve sharpness along the entire depth of the subject. Software like Helicon Focus or Adobe Photoshop handles the process automatically.
Pro tip: Always shoot in RAW format if your camera allows it. The RAW file retains all light and color information, making post-production correction much more precise than JPEG.
What backgrounds and photographic styles to choose for handmade jewelry?
The background is not a secondary detail. For e-commerce photos, a clean white background is the standard required by most marketplaces. For social or editorial content, textured backgrounds and warm light communicate craftsmanship and uniqueness.
Here's how to choose based on use:
- White background: opaque white cardboard or white fabric. Ideal for Etsy, Amazon Handmade, e-commerce sites. Puts the jewelry front and center without distractions.
- Black background: enhances polished metals and colored stones like lapis lazuli or turquoise. Creates strong contrast and a sense of luxury.
- Natural backgrounds: wood, stone, raw fabric, or dry leaves. Perfect for Instagram and Pinterest. They tell the story of the piece and pair well with ethnic handmade jewelry.
- Neutral textured backgrounds: kraft paper, raw linen, marble. Versatile for mixed use between catalog and social media.
| Background type | Recommended use | Visual effect |
|---|---|---|
| Opaque white | Marketplace, e-commerce | Neutral, professional |
| Velvet black | Social, editorial | Luxury, contrast |
| Natural wood | Instagram, Pinterest | Craftsmanship, warmth |
| Marble | Premium catalog | Elegance, modernity |
To avoid distractions, ensure the background is free of creases, stains, or reflections. A curved sheet of cardboard that rises from the base to the back wall eliminates the horizon line and creates a continuous background. This effect is called a sweep and is used in all professional photography studios.
How to retouch jewelry photos without losing authenticity
Retouching jewelry photos is more challenging than other product categories. Traditional times are 30–60 minutes per image, but AI tools significantly reduce this. The reason is simple: macro photography amplifies every imperfection, from dust and fingerprints to anomalous reflections.
Follow these steps for effective retouching:
- Correct exposure and white balance as the first step. Adobe Lightroom and Capture One are industry standards for this phase.
- Remove dust and fingerprints with the clone stamp tool or healing brush. Even traces invisible to the naked eye become evident in high resolution.
- Soften excessive reflections with the Highlights tool in Lightroom or the Curves adjustment layer in Photoshop. Do not eliminate them entirely: a natural reflection communicates the quality of the metal.
- Remove the background if necessary for e-commerce. Tools like Remove.bg or Jewels Retouch automate this operation with precise results even on the thin edges of jewelry.
- Check color consistency across all catalog images. The color of silver and stones must appear identical in every photo to build customer trust.
Pro tip: Create a Lightroom preset with the basic settings of your photo session (white balance, exposure, contrast). Applying it to all images with one click ensures visual consistency and reduces retouching time by 60–70%.
Key points
Photographing handmade jewelry at home requires diffused light, precise macro settings, and targeted retouching to communicate the true value of each piece.
| Point | Details |
|---|---|
| Diffused light as a priority | Use a lightbox or homemade diffusers to eliminate harsh reflections on metals. |
| Correct macro settings | Set f/8–f/16 and ISO 100–200 with a tripod for sharpness and no noise. |
| Background according to use | White for marketplaces, textured or natural for social media and editorial content. |
| Cleaning before shooting | Wear cotton gloves and clean the jewelry to avoid visible fingerprints in macro photos. |
| Consistent retouching | Create post-production presets to maintain color uniformity throughout the catalog. |
My experience with handmade jewelry photography
After years of working with ethnic handmade silver jewelry, I've learned that the most common mistake isn't technical. It's haste. Beginners tend to shoot without preparing the set, without cleaning the jewelry, without controlling the ambient light. The result is a series of photos that have to be redone from scratch.
Planning changes everything. Dedicate 15 minutes before each session to prepare the set, check the color temperature of the lamps, and clean each piece. This time is quickly recovered in post-production because the images start from a high-quality level.
Another thing I've often seen: the obsession with equipment. I've seen extraordinary photos taken with a $400 smartphone and mediocre photos produced with $3,000 DSLRs. The difference was in the light. Invest first in a good lightbox and a solid tripod. The camera comes after.
The advice I always give is to experiment with backgrounds. A black onyx ring on dark wood tells a completely different story than the same ring on a white background. Both versions are useful, but for different purposes. Always shoot both versions and decide later which one to use based on the context.
Consistency is the only strategy that really works. Every photo session teaches something. After twenty sessions, your setups will be automatic, and the results will be visibly better than the first attempts.
— Il mondo di Wit
Discover handmade jewelry to photograph and enhance
Applying these photographic techniques makes sense when the subject is worthwhile. Il mondo di Wit offers a selection of ethnic handmade jewelry in silver with natural stones such as lapis lazuli, turquoise, and onyx, unique handmade pieces that tell authentic goldsmith traditions.

Every engraved detail, every hand-set stone deserves a photo that communicates its true value. Before shooting, make sure the jewelry is in perfect condition: consult the silver cleaning tips to prepare each piece for the photo session. Explore the collection, choose the piece you want to enhance, and immediately put what you've learned into practice.
Frequently asked questions
Which camera is best for photographing jewelry at home?
You don't need a professional camera. A recent smartphone with macro or portrait mode produces excellent results when combined with a tripod and diffused light.
How do I avoid reflections on silver jewelry?
Use a lightbox or a light tent with translucent material. Diffused light eliminates harsh specular reflections while maintaining natural reflections that communicate the quality of the metal.
What is the best background for jewelry photos to sell online?
An opaque white background is the standard for marketplaces like Etsy and Amazon Handmade. For social content, backgrounds of wood, stone, or natural fabric better communicate the craftsmanship of the piece.
How long does it take to retouch a jewelry photo?
With traditional methods, retouching takes 30–60 minutes per image. AI tools like Jewels Retouch significantly reduce this time by automating background removal and imperfection cleaning.
Should I use RAW format to photograph jewelry?
Yes, if your camera supports it. The RAW format retains all light and color information, making post-production correction much more precise than with compressed JPEG.